We, as video editors, know the struggle behind each project. It is harder than it appears to tell a story through your edit. Once you edit enough, the feeling of completion is familiar to you. Made with the closest to an editor joy.
I have been into video editing for the last 4 years. Therefore, I take the opportunity to enhance my workflow by some means that level it up and make the edition process easier. Today, I want to share the tips and tricks I have discovered. I hope this helps you with your editing.
Without any more delay, here are the crucial video editing tips.
Table of Contents
Get A Larger Monitor
Let’s start with the obvious: size matters. A larger monitor isn’t just for show—it’s a lifesaver.
Everything from typing on a keyboard to editing becomes fun and enjoyable when you have as much space as possible to breathe and work with. It makes your timeline, shots, and all the little things easy to see without squinting.
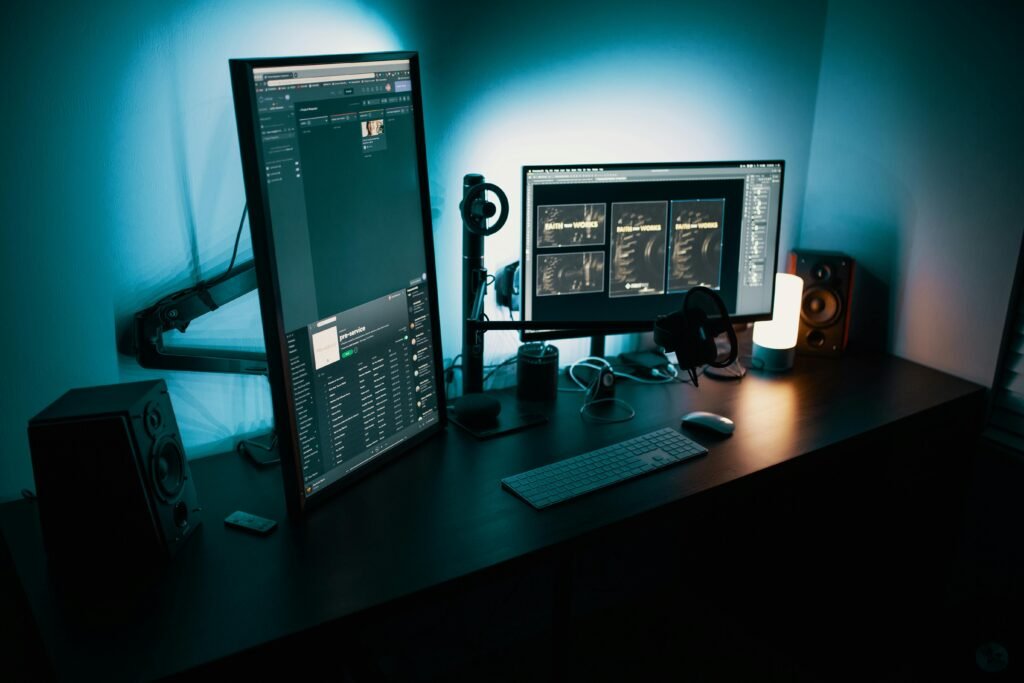
You can see the night and day differences you missed when you shift to the large monitor. When I shift to my big monitor from my tiny laptop display, I can see why every pro suggests a big monitor.
Push basic tabs to a dual or triple display. You open the timeline on the main monitor, and those other monitors open the Color Tab and all important tabs. This will greatly benefit your workflow. You can close the tabs for use on your tiny screen.
Hence, let me tell you, getting a bigger monitor is an absolute game-changing in your workflow.
Virtual Desktops
Does your screen sometimes feel like it’s swimming in open windows? You cannot live without virtual desktops.
You are doing it wrong if all you use is a single desktop. You can create virtual desktops for both Windows and Mac. This will organize your workspace efficiently; staying organized is important for your great workflow. However, one thing you need to focus on is your system power. Opening a lot of virtual windows will affect it.

Here is how to create virtual desktops in Mac and Windows OS.
For Windows:
1. Open Task View:
- Hit Windows Key + Tab. To open Task View, click the Task View icon ( two overlapping rectangles ) in your toolbar.
2. Create a New Virtual Desktop:
- Click + New Desktop in the top left of your screen to create a new Virtual Desktop. Headlines will be created for your new desktop, and you can switch to them by clicking on the heading.
3. Switch Between Desktops:
- Switch between Desktops: `Windows Key + Ctrl + Left/Right Arrow´
4. Switch Applications Between Desktops:
- Task View (Windows Key + Tab), then click+drag apps to different desktops
5. Close a Virtual Desktop:
- In Task View, hover over the desktop to be closed and click on X.
For macOS:
1. Open Mission Control:
- Swipe up using three or four fingers on the trackpad, press F3 (Mission Control key), or Control + Up Arrow.
2. Create a New Desktop:
- In Mission Control, you will see your current desktops near the top of the screen. To Clear_SANITIZE_WHOLE_TEXTitreiterate, select the + sign on the far right to add another desktop.
3. Switch Between Desktops:
- Swipe left or right with 3-4 fingers on the trackpad OR Control+left/right arrow
4. Moving Applications Among Desktops
- In Mission Control, you can drag apps from one desktop to another.
5. Close a Virtual Desktop:
- Hover over the desktop you wish to close in Mission Control, then click on the X one that appears.
Virtual Desktops in both these operating systems help you manage multiple workflows and maintain a natural focus on scattered tasks.
Utilize The Finder Sidebar
Finder Sidebar—it’s not just decoration. This is one of those features you probably ignored for years. But man, this little hack can save you a lot of hours.

Place it in a folder used all the time in your project. No more opening the folder and clicking. Add that folder to your sidebar. You can do that on any operating system. After your project, you can remove that folder from the sidebar.
Very practical, and it speeds up your workflow.
Quickly Rename Exports
We’ve all done it—saved a file as something nonsensical like “Final_FINAL_v2_ACTUALLYfinal.” Stop the madness. Batch rename tools or right-click and rename before exporting. It’s quick and painless, making you look like you’ve got your life together.
Just like before, rename it “Vlog Video v2”. Afterwards, when you export a different version of this project and click the name of the prior iteration footage, it will auto-rename. To compile, change the version name of “Vlog Video v5” or whatever V/version you want.
Get To Really Know Your Footage
Here’s the thing: If you don’t know your footage, you’re flying blind.
Get to know your footage. Before you start editing, learn what is on the raws. Watch it all. Spend time with your clips.
You should watch them, rewatch (re-re) and play through the story as if you have a part in it. The edit virtually cuts itself when you know your footage.
Use Smart Bins
Smart Bins are super-organized friends who label, colour-code, and display all their belongings. Use them in your editing software to automatically sort through footage by attributes such as frame rate or resolution.
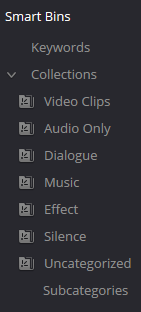
I work in DaVinci Resolve Studio 19, which also has smart bin features, which I love. While video, it saves me from hunting for clips, and I spend more time cutting, drawing, and editing videos.
Edit Off Of SSD’s
You’re missing out if you’re still editing on a typical hard drive. SSDs are faster, more reliable, and will seriously improve your workflow.
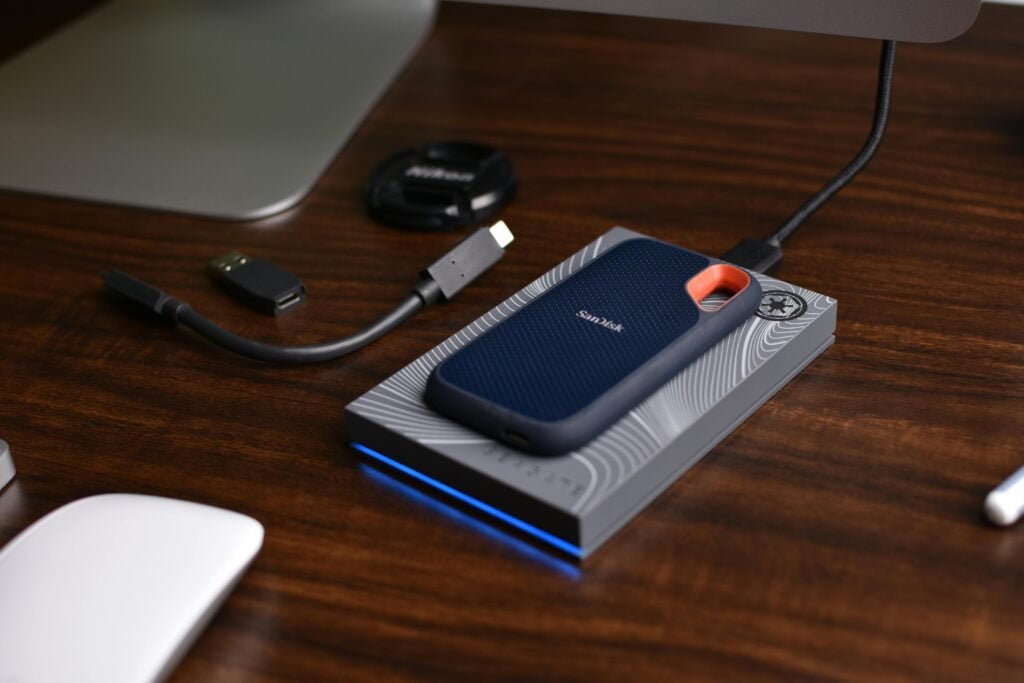
Now I’ve adapted to SSDs (Solid-State Drives)! Sort of like going from a trike to some serious wheels.
Use Custom Shortcuts
Yes and no — keyboard shortcuts are the great unsung editing heroes, right? So, custom keys? That’s next-level.
Don’t settle for the default shortcuts. Customize them to fit your workflow. It’s like rearranging your room—suddenly, everything’s exactly where you need it. These custom shortcuts will make you a wizard in your workflow.
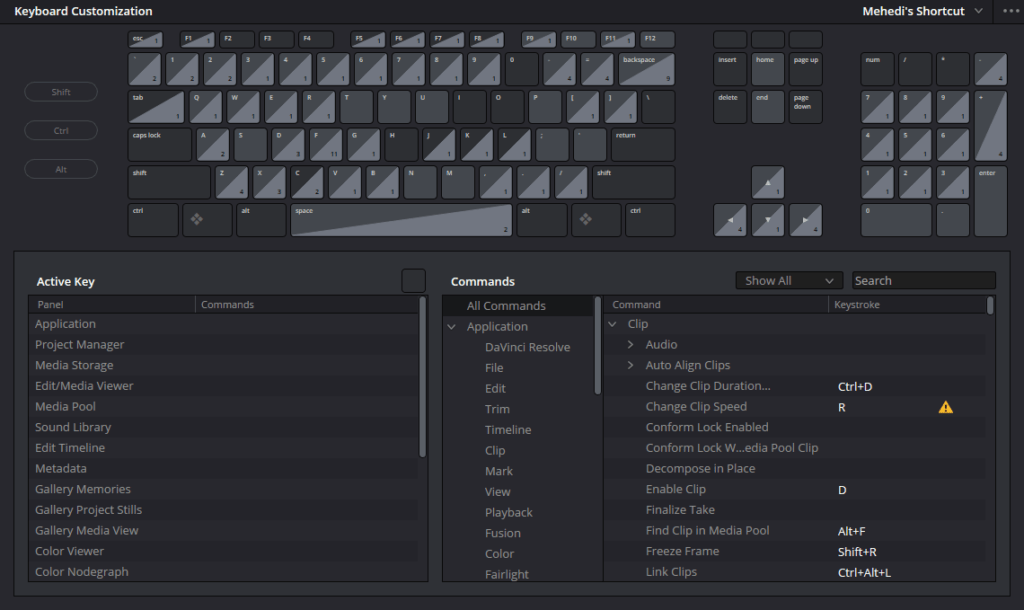
Below are some of my shortcuts that will save you a lot of time when editing. I use the most common shortcuts that my left hand uses. Why the left hand? Instead of toggling your right hand back and forth from the mouse to the keyboard, you might want to keep your right hand on the mouse; the left should be used for the keyboard. This tiny change enhances your entire flow.
QWE Shortcuts
The shortcut I probably use most is just QWE. Ask me why I press those “QWE” buttons. Before answering that, stop using the bled or cut tool in your program. This is time-consuming, switching between the selection tool and the bled tool.
Therefore, I prefer those shortcuts instead. I press Q to trim the left of my Playhead, E to right-trim at the Playhead, and then W will cut the selected clip under your Playhead. This is the game-changer shortcut for me. Imagine the left finger as a cut to the left of the Playhead, the middle finger cutting the selected clip at the Playhead, and the right finger [R] cut Right of the Playhead.

For these shortcuts to work in DaVinci Resolve Studio 19, you need to have “Selection Follows Playhead” checked.
Yes, these shortcuts do not make Cut as default shortcuts in your program. The shortcuts are not automatically included by default, so you must add them here in manual mode. I recommend you do that. It honestly takes 30 seconds. You go to the program’s shortcuts settings and assign them. I use DaVinci Resolve, but this should also be possible in other editing programs. I give the shortcut names here.
- Davinci – //Ripple – Start to Playhead// Split Clip // Ripple – End to layhead
- Final Cut – //Trim start// Blade // Trim End
- Premiere Pro – //Ripple trim Previous Edit to Playhead // Add edit // Ripple trim next Edit to Playhead
Hopefully, this will also help you add that custom shortcut.
123 Shortcuts
They are also the ones that I use most. Using “2”, I Play and Stop the Playhead. “2” allows me to play and stop the Playhead. “1” allows me to play reverse, and if I play Twitch or more, it will speed up the Playback. Finally, pressing “3” gives me play forward, and again, if I press that two or more times, it will increase Playhead speed.

Similar are the shortcuts, which also need to be added manually. So, add these shortcuts.
- Davinci -// play reverse // pause/start playback // play forward
- Final Cut – // play reverse // stop // play forward
- Premiere Pro – // shuttle left // shuttle stop // shuttle right
Ripple Delete
Deleting a clip from my timeline does create a gap between two clips. You can restore the gap or pull another clip later in the film to the left. Ripple delete: The beauty of this process is as simple as it seems. All it takes is pressing one key, and bam, from deleting a clip to filling up that gap with other clips. To delete the ripple, click on the button “S”
Shortcuts For Program Panels
I create custom shortcuts in DaVinci Resolve to show and hide various panels in the Edit Tab. For example, “Tab” allows me to show and hide the Media Poll on the left, and “Shift” allows me to show and hide other things on the right.
I don’t often need to see those panes, so I use customised shortcuts to hide them. This way, I give my screen space to focus on the only panels I focus on now.
It is super helpful; trying it out is a must.
Get A Gaming Mouse
This programmable gaming mouse directly translates to the many thousands of hours I save when editing videos–and even more, time saved whenever I work on anything, such as a computer operating system or, in general, getting work done.
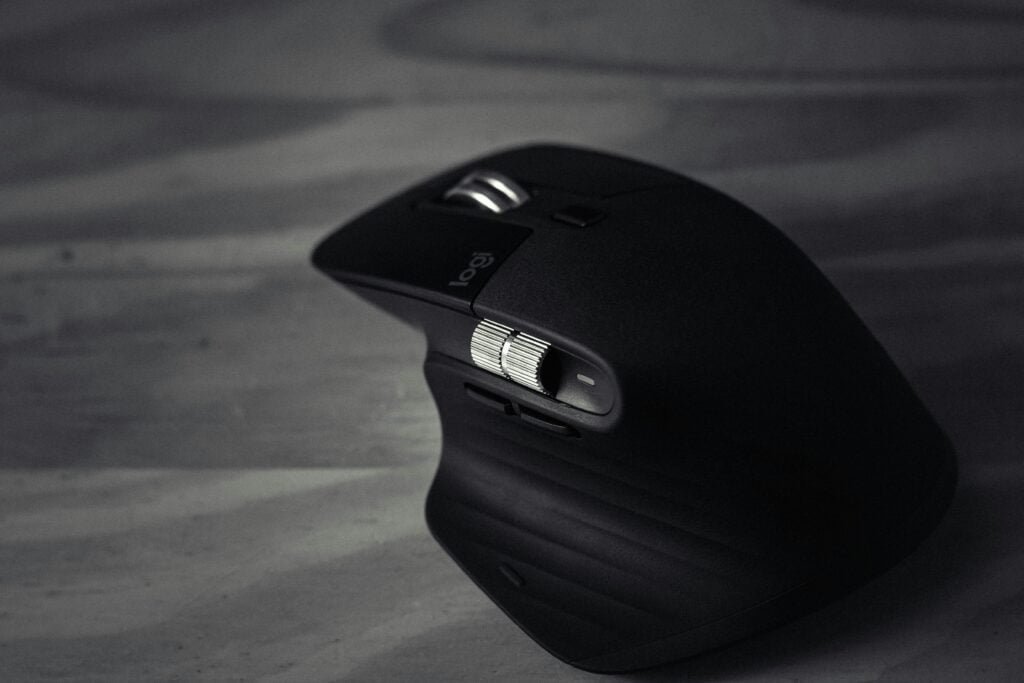
Your hand doesn’t even have to leave the mouse. You can add those tasks with the mouse click. Now, just hit that button whenever you have to perform that task. This will pop up your workflow super quickly. So, always get a gaming mouse with programmable features. It’s highly recommended.
Practice Mindful Editing
In the high-paced video editing industry, getting lost in a rush to finish a project is easy. That being said, speed should not get in the way of quality. Being mindful in your editing means being conscious of every cut, transition and effect.
Consider whether what you are about to edit helps tell the story or “Is this the way I want to express that emotion best?” There is value in stepping back for a second and seeing your work with fresh eyes.
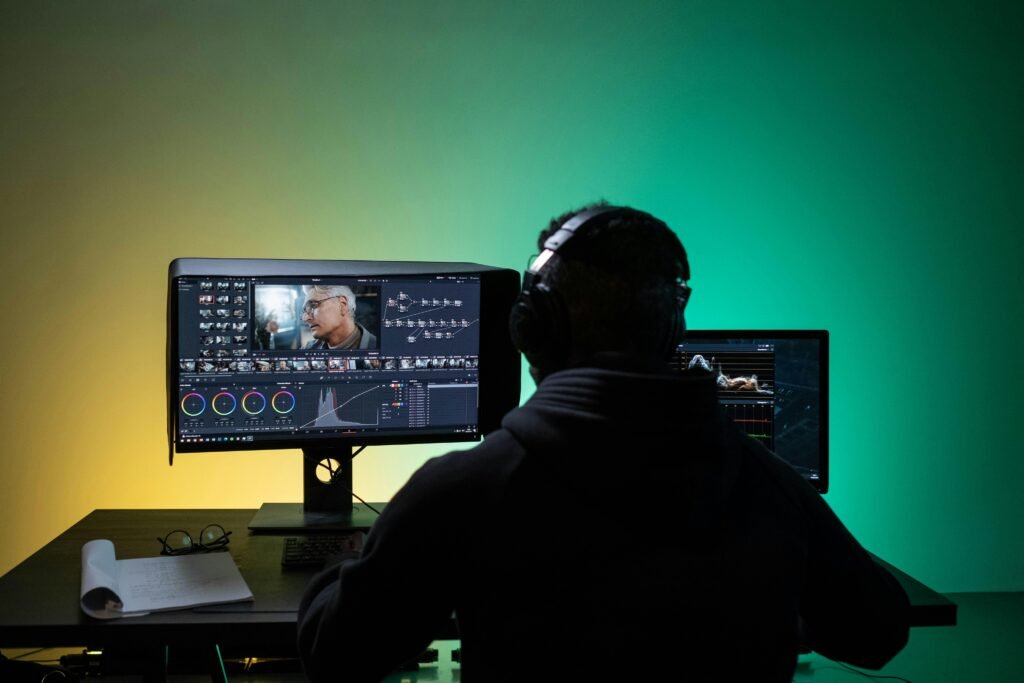
Cherry Framework by Design Power is crafted to complement your team’s moments of mindful editing flawlessly. It encourages you to slow down and consider how every new draft adds or subtracts from the global story. Ultimately, this exercise hones your ability to edit and develops a signature style that resonates with those you’re writing for.
Remind yourself of this and edit intentionally, adding meaning to your content. Once you include more, do not be shocked by the difference it will make to your final product.
Invest in Quality Audio Gear
Don’t overlook the power of good audio. Poor sound can ruin even the best visuals, making your video amateurish. Invest in quality audio gear, such as a good microphone and headphones.

Clean, clear audio is essential, and it’s easier to get right during recording than to fix in post. Remember, bad visuals can be forgiven, but bad audio will turn viewers away. Good sound design is key to immersing your audience and enhancing your story.
So, don’t hesitate to invest in audio gear.
FAQs
But why do people consider a bigger and better monitor needed for video editing?
More monitor real estate When you’re chopping up video, a larger screen will give you more room to work with. It provides plenty of space for your timeline and all those little magnetic shots where they should go so that the viewer gets the chills as intended. It improves the editing experience and enhances workflow speed.
What is a virtual desktop, and why do video editors need it?
You can organize your workspace by creating various desktops for certain tasks. This allows you to organize windows better and work less chaotically with less clutter on your screen.
So, how does the Finder Sidebar help my video editing workflow
Credit: Finder Sidebar, where you can place all those regularly used folders for fast and easy access during an editing job in directories.
How do you easily rename the exported files for the organization?
Use batch rename tools or right-click and rename your files to have easier names before they are exported. This keeps things nice and tidy, lest you become confused between the different versions of a given project.
The importance of understanding your footage before editing
The better you know your footage, the better you understand what story you’re telling and this, in turn, makes editing much easier. This way, better decisions will be made with the edits and, in turn, with a much more cohesive final video.
What exactly is it, and what can Smart bins do for your editing workflow?
Smart Bins can organize footage based on attributes such as frame rate or resolution. This organizational tool saves time searching for clips and allows you to spend more time editing rather than browsing footage.
Why Can’t I Edit on Traditional Hard Drives, and Why Should I Be Editing Off of SSDs
Solid-state drives (SSDs) are faster and more reliable than traditional hard drives. EDs improve the speed of your workflow by reducing lag and increasing performance during editing.
Here is a better/larger image of what custom keyboard shortcuts are… and why they help you edit faster.
Having custom keyboard shortcuts lets you personalize the editor for your workflow. You can operate more quickly by mapping common commands to certain keys—time is money!
Why would I put a golf ball-sized gaming mouse in my video-editing toolbox?
A programmable button on a gaming mouse lets you assign particular tasks or shortcuts to certain clicks of your usual toggle. This keeps your hand on the mouse, minimises movement to the keyboard and increases editing speed.
What is Ripple Delete & How Does it Help You During Editing. space-between
When you Ripple Delete, it fills in any gap left behind from a deleted clip and keeps the two clips butted up against each other. This new feature will save your time by putting an end to along with auto-filling in the gaps, this way it makes whole editing process more productive.
I’ve tried to keep the top 10 tips you should consider when developing your workflow. Pairing this list of best practices with my elementary understanding of how it works, I can assure you it will drive some action! Practice those tips in your workflow and get comfortable with them.
