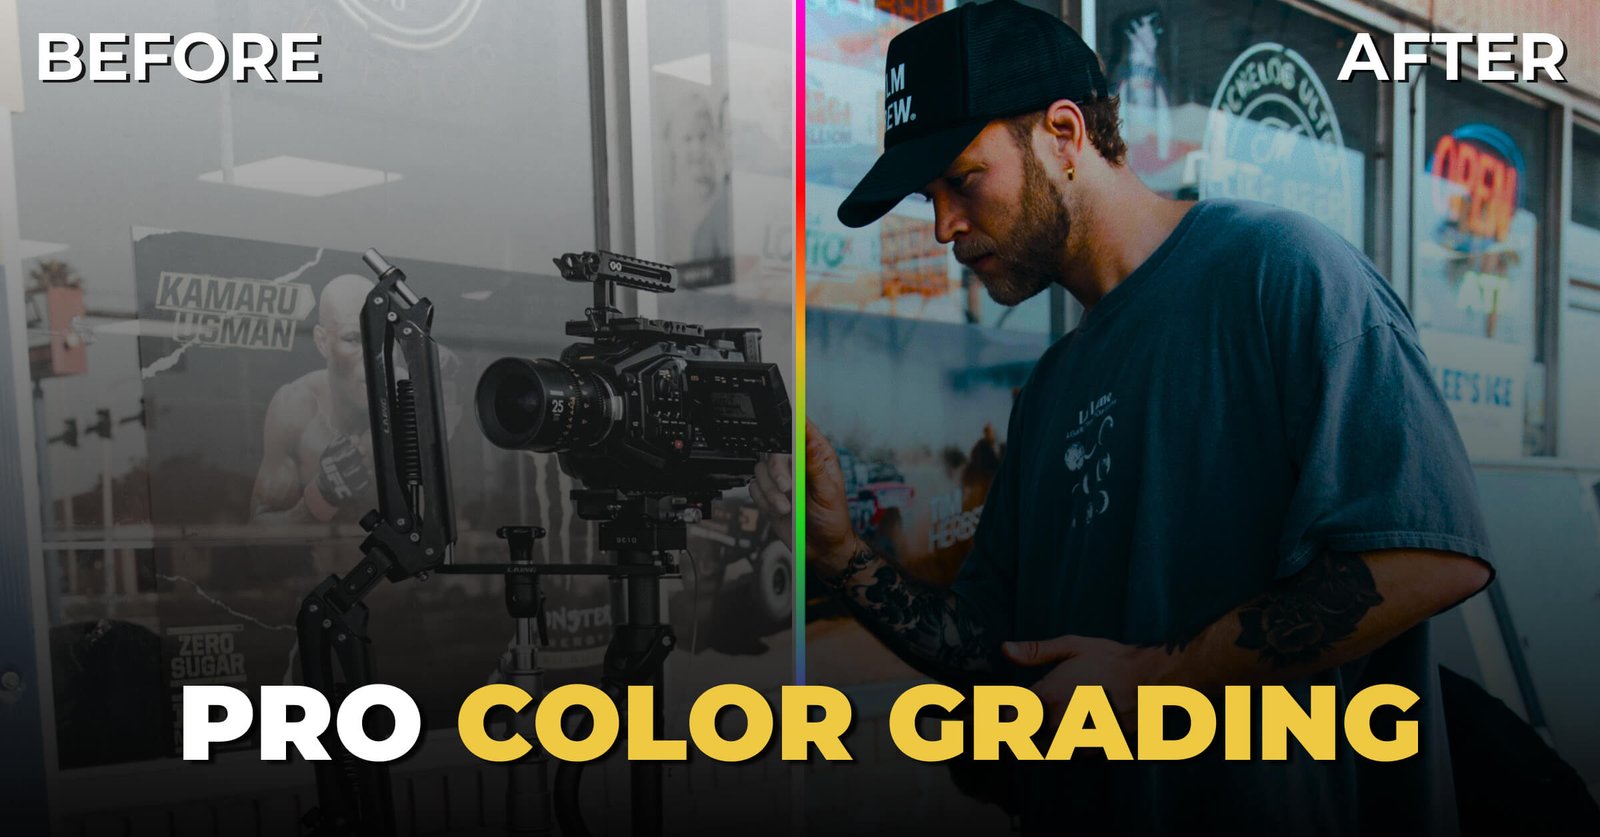
Color grading is typically the secret ingredient that makes your video stunning. Knowing where to start with color grading when you’re new to video editing can be a daunting process. But don’t worry! I’ll break it down for you.
In simplest terms, think of color grading as the cherry on top. This isn’t just about making things look good; it’s all about telling a better story and creating the tone or professional potential depending on how you edited your footage.
I’ll cover some color grading techniques from my experience that will help you with editing projects. Okay, let’s dive into it!
Table of Contents
Understanding the Basics of Color Grading
Color grading is the process of adjusting your video’s color and tone. In this process, you can give a certain look or feel to your video. It’s often confused with color correction. Color correction focuses on fixing issues like exposure or white balance, but color grading is all about enhancing the visual style and storytelling of your video.
Color grading requires using a wide variety of tools and techniques to adjust certain things. You will see LUTs (Look-Up Tables), Color Wheels, RGB curves, and more… each with different ways to interact with color. Knowing these basics will provide a groundwork for more advanced tactics.
01. LUTs (Look-Up Tables) Effectively
Look-up tables, or LUTs, can change the look of your video with one click. They are essentially maps of all the colors within your footage to a preselected set of the same color. When you apply LUTs to your video, it will change the entire vibe and tone of your image.
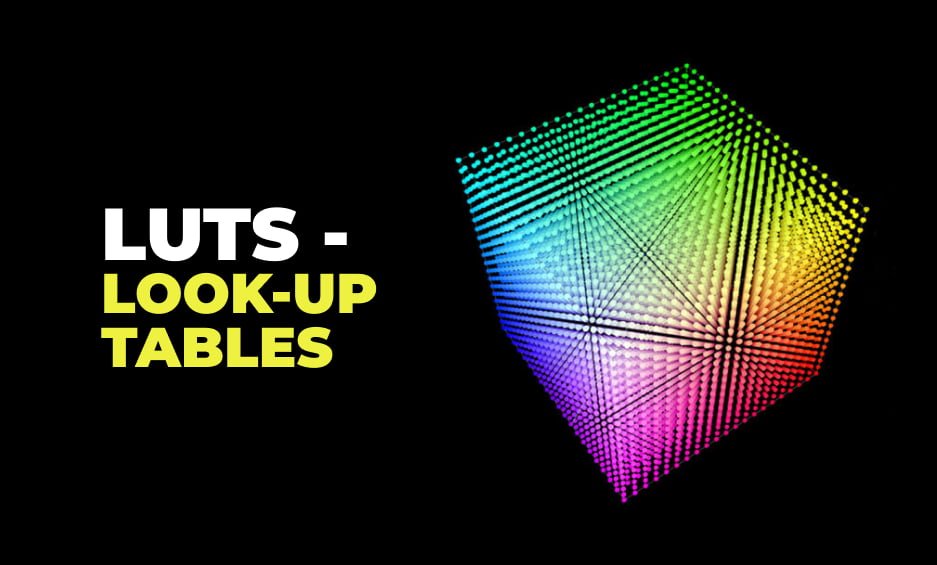
First, when using LUTs, you will want to determine what the actual look or feel is and select a corresponding LUT. Most editing software comes with a range of LUTs to choose from, and you can also find or create custom LUTs tailored to your specific needs. After applying, you can adjust the strength of your LUT; this affects how it responds to the image.
Don’t be afraid to layer multiple LUTs or combine them with other color grading techniques for a unique look. I usually do that in my projects.
02. Mastering White Balance Adjustments
White balance adjustments are essential for achieving accurate colors in your video. Proper white balance ensures that whites appear as true white, which in turn affects how all other colors look. If your footage has an unnatural color cast (e.g., too warm or too cool), adjusting the white balance can correct this.
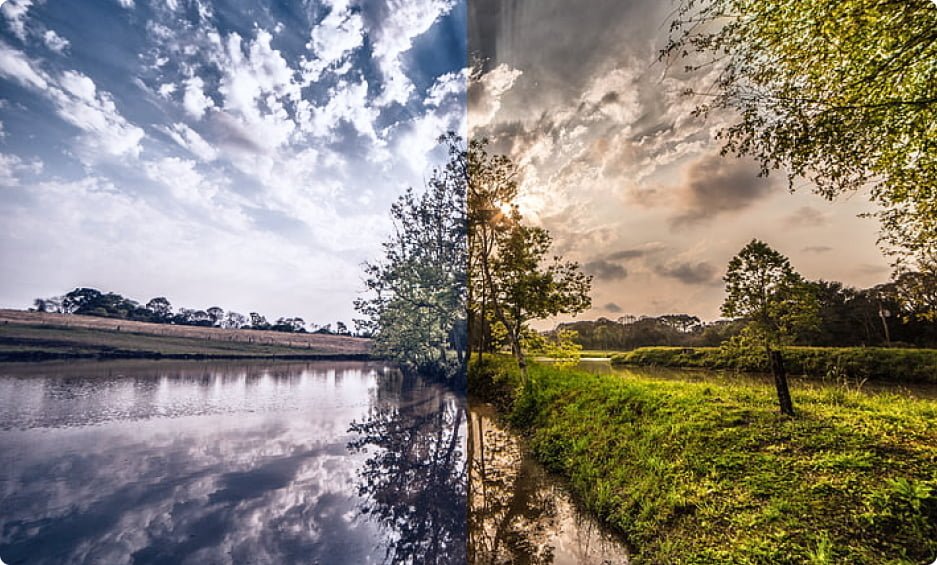
Most editing software has built-in automatic white balance correction tools. Manual adjustments could still provide you with a better choice. Find something white or neutral gray in the frame and balance your colors off of it. Practice will give you a sense of being able to do this rapidly and accurately.
03. Working with RGB Curves
RGB Curves are an important tool in color grading. They give you control of the brightness and color of your footage by changing levels on red, green, or blue color channels separately. This allows it to be super powerful when you need to fine-tune certain areas of the image.
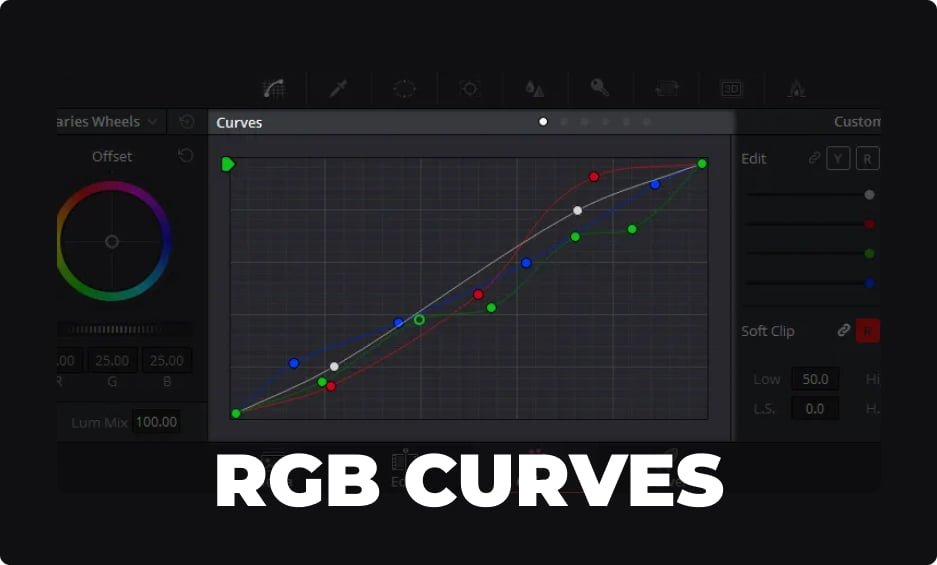
To work with RGB curves, simply adjust the highlights, midtones, and shadows to improve contrast and color balance. For example, a curve that rises in the mid-tones will be equivalent to brightening the image, and so on with adjusting shadows to deepen blacks. Play around with different curves to manipulate your footage and get the look you are going for.
04. Enhancing Skin Tones
Getting natural-looking skin tones is a common challenge in color grading. Skin tones are crucial for making your subjects look their best, and subtle adjustments can make a big difference.
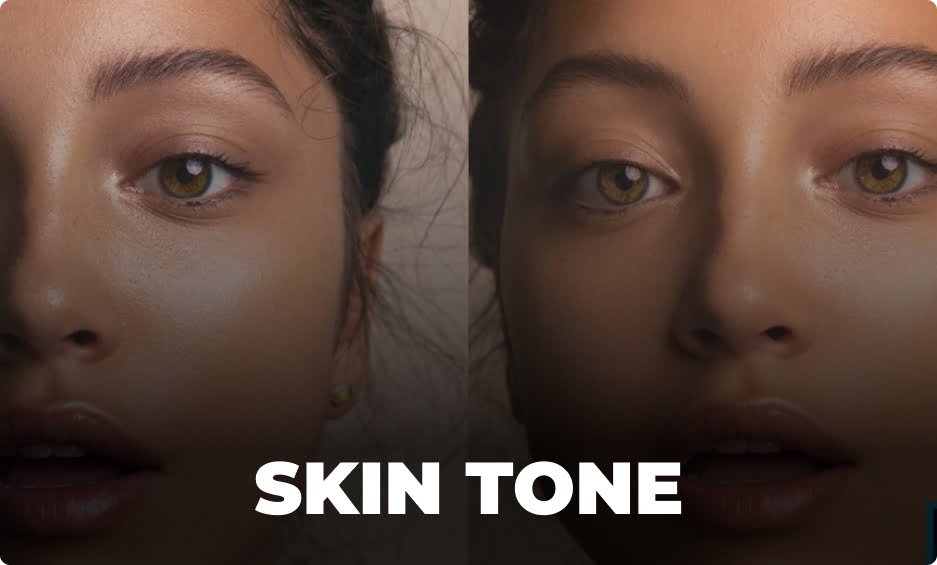
Begin by isolating the skin tones using color wheels or masks. After that, the image can be color-corrected manually using Hue/Saturation/Luminance to correct skin tones. Avoid overdoing it – the goal is to enhance, not overhaul. Many editors use reference images of natural skin tones to guide their adjustments.
05. Balancing Exposure and Contrast
Exposure and contrast play significant roles in how your video looks. A good exposure is one whereby your footage isn’t too dark and also not so bright, by the way, contrast helps reveal details as well as depth.

Brighten up any spots using the exposure controls in your editing software. Simply increase the contrast to brighten up light areas and darken those dark, yet do not lose detail in highlights or shadows. Balanced Exposure and Contrast are vital to a clean, professional aesthetic.
06. Applying Color Wheels
Color wheels are powerful devices that serve to change the balance of color in various tonal regions, which can be shadows, midtones, or highlights. You can adjust the color and brightness on specific parts of your image.
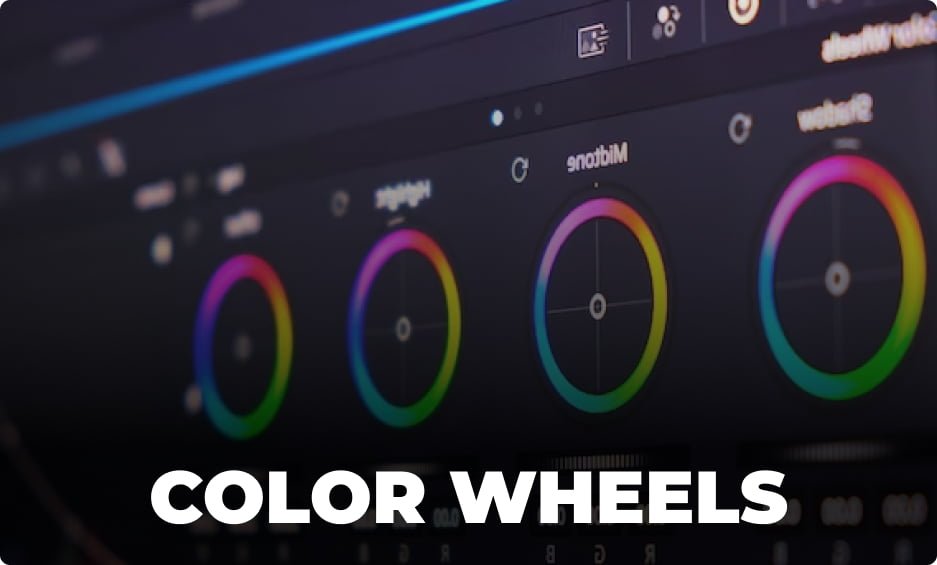
Color wheels adjust each wheel to change shadows, mid-tones, and highlights! This helps to obtain an even tone and blend all the colors, eliminating any color mismatches. Play around with different settings and see how they change your footage.
07. Creating a Cinematic Look
A cinematic look often involves a combination of color grading techniques to achieve a film-like quality. This involves tweaking the color balance for a certain mood, creating a subtle vignette, and ramping up the contrast. This makes the footage look richer yet more dramatic.
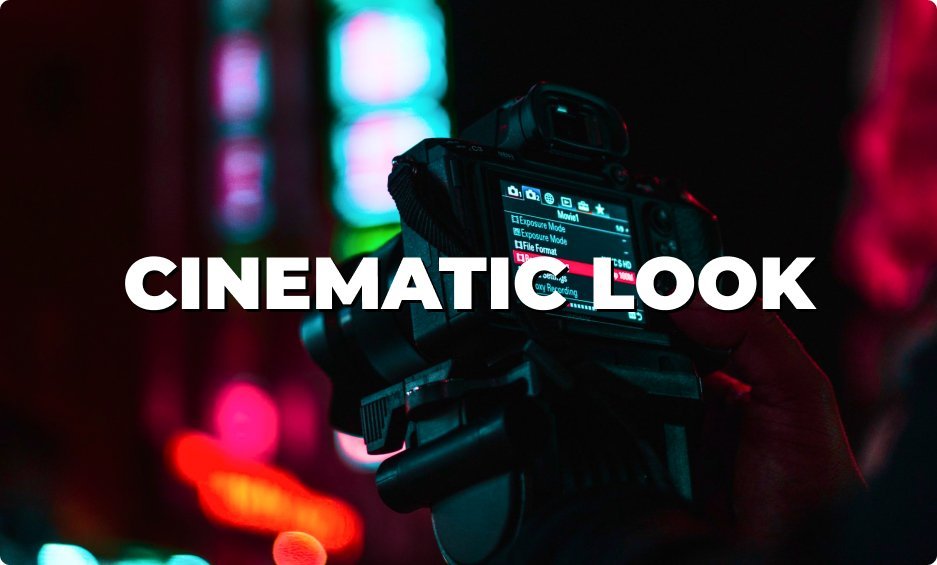
Consider using techniques such as desaturating some colors, adding a slight teal and orange tint, or applying a film grain effect. Look at examples from popular films to understand different cinematic styles and try to replicate them with your footage.
08. Utilizing Color Matching Tools
Color matching tools are used to make different clips in your video look consistent. This is crucial, especially if you filmed with more than one camera or in different lighting environments.
This kind of color-matching analysis and correction can be done by any video editing software to ensure all the clips are color-balanced. These would help you fix any color mismatch and maintain an equal vision across your video. But the best result can only be achieved by manually reviewing and polishing up.
09. Exploring Advanced Color Grading Techniques
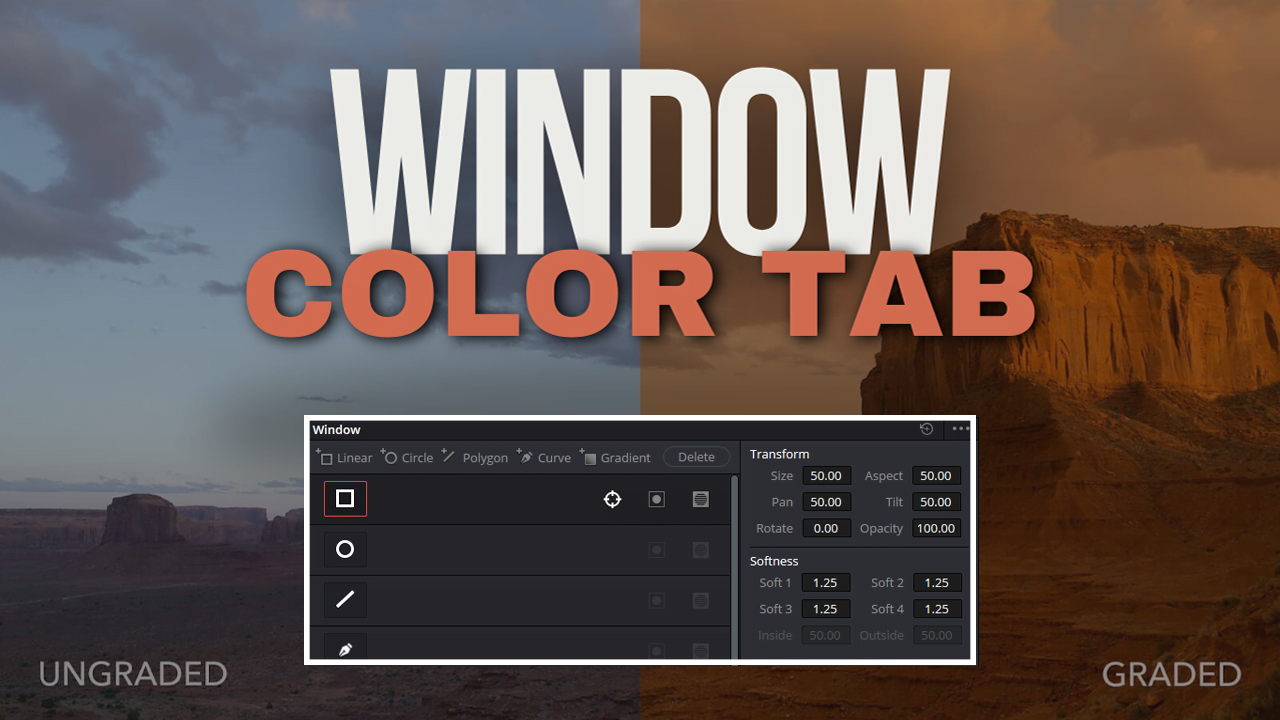
After learning intermediate stuff, dive into advanced color grading tricks. These can be anything from color isolations to using masks and keyframes to work on just the parts that you want.
While more advanced tricks can make your videos stand out, they do take some trial and error to get right. They are a great method to add some depth and perspective, so take a stab at these techniques and see how they can complement your creative vision.
And there you have it – 10 essential color grading techniques to elevate your video editing game! Whether you need a cinematic look, color-correct problems in-camera (or shoot for correction), or want to subtly change the feel of your footage…this pack gives them all! Because at the end of the day — color grading is part art and part science. Your style is not just bestowed upon you, it takes years of practice to hit that level.
Leave a comment if this article helps you in your video editing journey and also read our other articles. I hope those will help you in your video editing.

