Straight up, Da Vinci’s Color Tab is the reason I now love to color grade. Before, I had always struggled with color grading.
This article will give a general overview of the Color Tab in DaVinci Resolve. I’ll cover everything in the DaVinci Resolve Color Tab, but I’ll cover every section in detail in the future. If you are a beginner at DaVinci, this article is precious.
So, let’s dive into the world of color grading in DaVinci.
Table of Contents
Interface Preview
When you open the Color tab in DaVinci Resolve, you’ll see a detailed interface packed with features. This is where you’ll do your color grading. A super helpful shortcut to switch directly to the Color tab from any other tab is pressing “Shift + 6.”
Don’t worry if it seems overwhelming at first. I’ll explain everything clearly so you’ll grasp it all easily.

Gallery
I want to start at the top bar on the left. The Gallery, LUTs, Media Pool, and Clips are here.

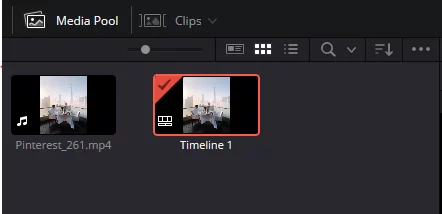
Before going to the Gallery section, I want to overview the Media Pool. In the Media Pool, we can find all the footage we have imported—all kinds of clips and other things. Personally, I don’t use the Media Pool in the Color tab.
Okay, here is the Gallery section. This is the most used section in the Color tab. We can save stills/screenshots of our previous grade of the footage. We can then apply the same grades to other clips or compare previous changes to these changes. This is a really helpful feature in DaVinci.

To save a still, right-click the clip on the footage and then select Grab Still. Then, we can see the still in the Gallery section. We can save as many stills or screenshots as we want. There will be no change in the stills if we change anything in the footage, so we can compare how much we’ve graded it.

Then, grabbing the still again will create other stills, which is great for comparing. Then delete the other stills and stay with the selected still. This is super great.
Clips
We see a little thumbnail in the timeline when we click on Clips. We can scroll left and right to see all the clips in our timeline. In the Color tab, we can copy grades from one clip to another in the Clips view. We can also make groups.
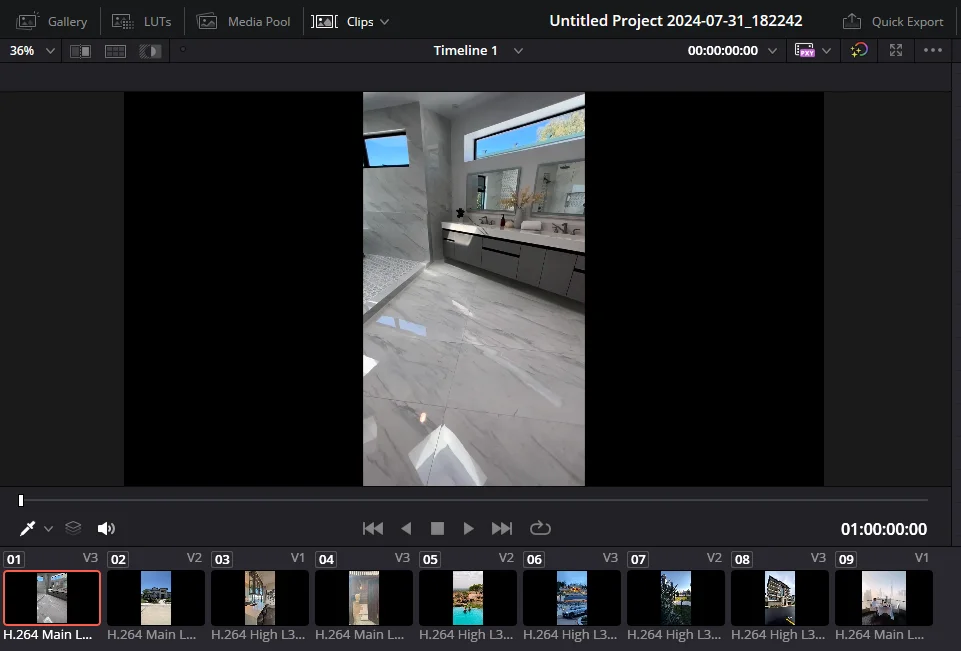
When you color-grade some footage, you can see a rainbow box in the changed clips.

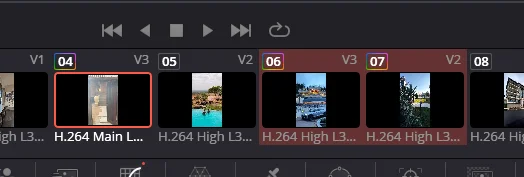
If you want to copy that grade to other clips, hold “Command” on Mac or “Ctrl” on Windows and select the clips whose footage you want to change. Then, middle-click the mouse. It will apply the same changes to the selected footage. You can also right-click and then select “Apply Grade.” There are a bunch of other ways to do the same things, such as groups, shared nodes, etc. This is handy in the Clips view.
LUTs
LUTs are Look-Up Tables, essentially a math-based shortcut for transforming color values so they have a different output. They are a bit like filters but are more precise and non-destructive to your footage.
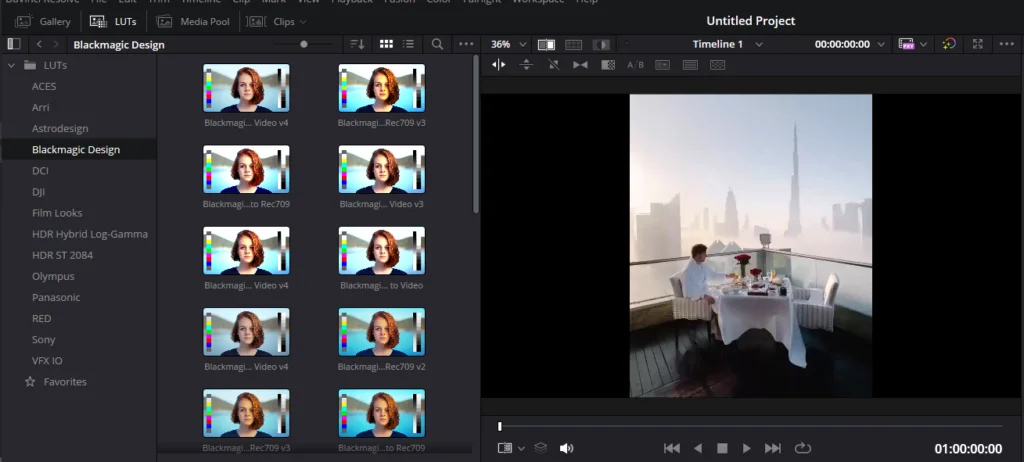
You can see a preview by hovering over the LUT presets. In the preview section, you will see what it will look like on your selected clips. Then, click on it to apply it to your footage.
The best part about LUTs is that you can add them to your favorites by pressing the star, allowing you to apply the same LUTs in future projects.
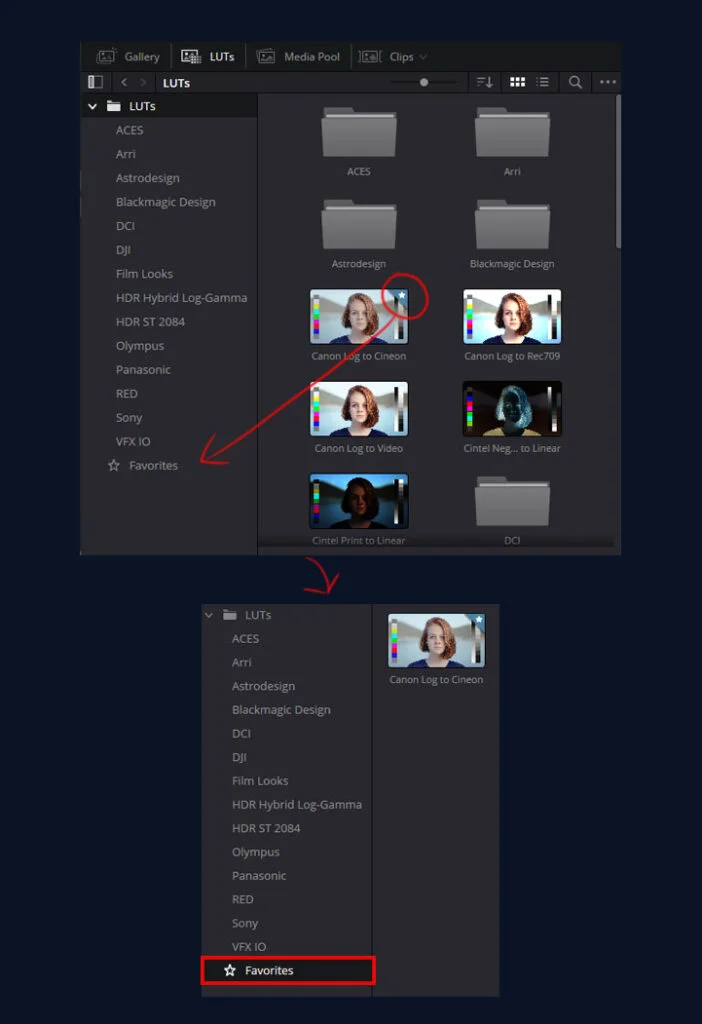
You can also access various built-in LUTs in DaVinci Resolve and add other types to this section. So, try different LUTs to see which suits your footage perfectly.
Nodes
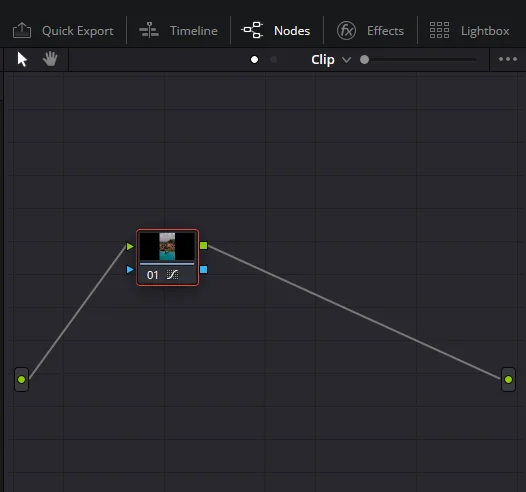
You can enable or disable the Node view by clicking the Nodes tab. This is where you can work in a node-based workflow. In the Color tab, most of the work you will do here.
Timeline
After clicking the Timeline section, you can view the timeline in your work interface. You can’t zoom in or out here but can give a quick view of your selected clips. I don’t always use the Timeline view. I personally prefer the Clip view. Here, you can see a thumbnail view of your footage. I already talked about it.

Effects
In the Effect section, you can find all the effects in Da Vinci that you’ll use in your projects. Like the Luts section, you can also find the star icon to select a favourite. You must click the three dots to see your favourite effects in that folder.
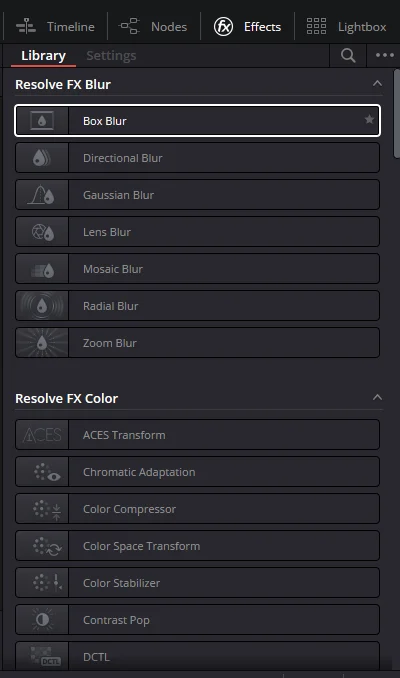
I usually mark my favorite effects, so I don’t need to search for them in the future. When I start working on the Color Tab, I go to the favourite folder and use that effect.
Lightbox
After the Effects Tab, you can find Lightbox. This is a zoomed-out preview of your entire timeline. It shows thumbnails of your entire timeline all the time, so you can get an overall idea of the theme and color of your video and compare it to other footage.
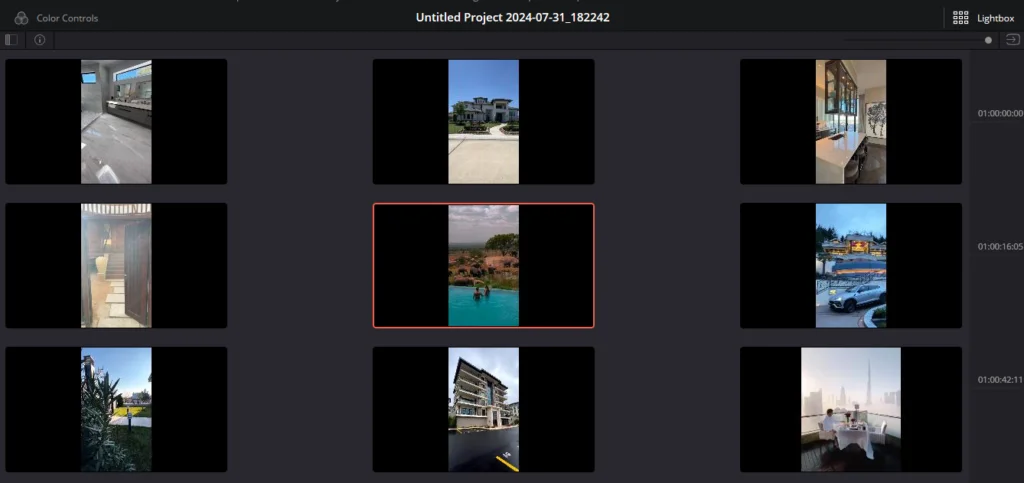
On the upper right side, you can find a pointer. Scrolling right and left, you can make your footage thumbnail bigger or smaller. This is a really handy tool for doing the best color grading.

By clicking the Lightbox again, you can close it.
Split Screen
With Split Screen selected, we can compare our footage to other selected LUTs, Clips, Albums, Still Grades, etc. These are super handy tools for getting the best grade.
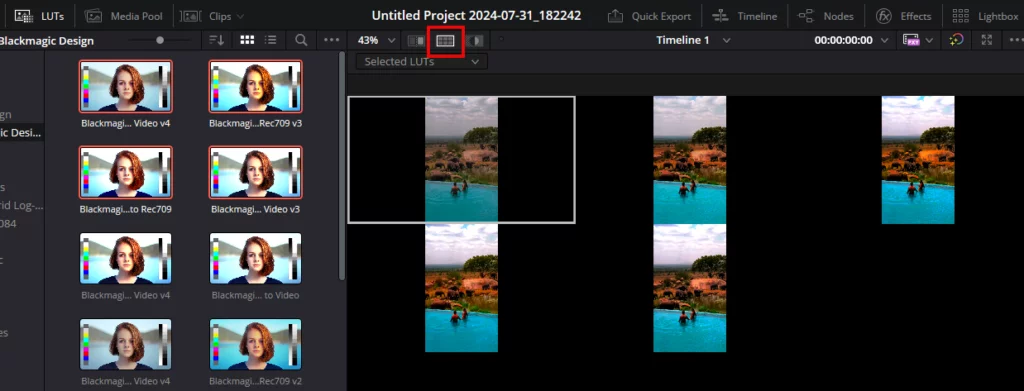
Image Wipe
Then, we can find Image Wipe after the Split Screen. This is a side-by-side comparison of the selected still. I discuss the still in the Galery section. I hope you understand what I mean by it.
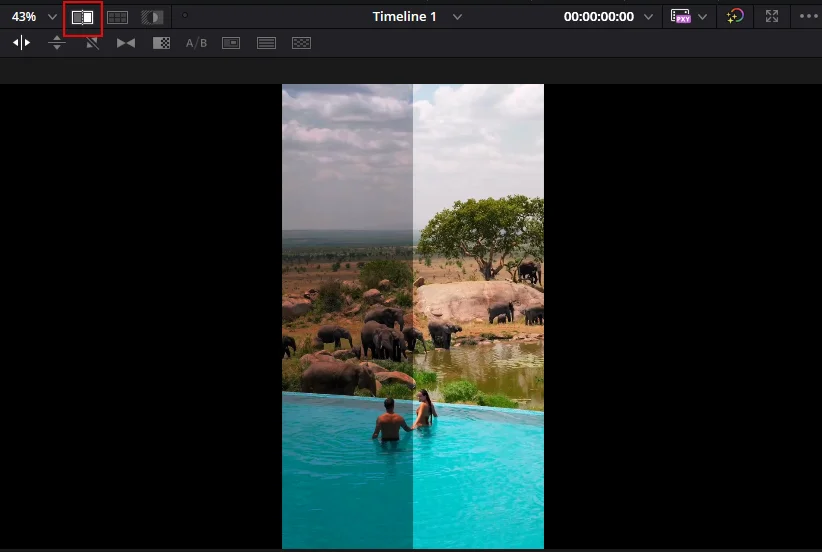
You can change the shape of the compassion to Horizontal, vertical, Diagonal, and many more.
Camera Raw
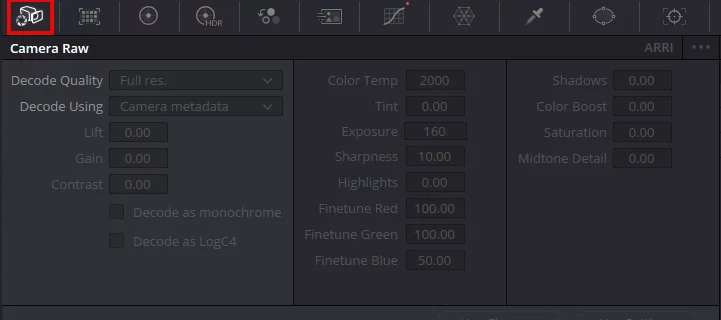
The lower left has a Camera Raw tab. You can change any settings here.
Colour Match
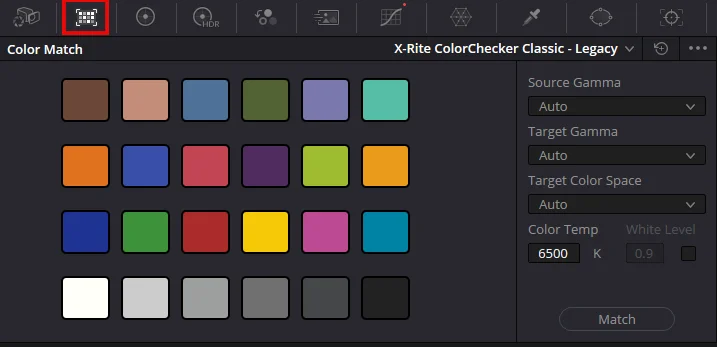
The next tool on the right is the Colour Match. If you have a color checker, grab a frame of your color checker at the head of each shoot and bring in that file.
You drag a window on top of the frame and press Match. It scans through it, ensuring blues are blue, yellows yellow, whites white, blacks black, etc. This is a good starting point for quickly having your footage color-balanced across the entire piece.
Primaries – Colour Wheels
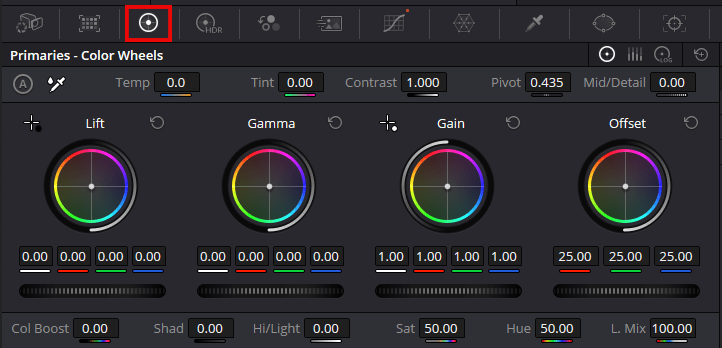
You will do all your grading within this. It is the main tool, and along with the nodes—storytelling in color correction—there are a series of layers within Resolve.
A curve equivalent (if you are used to curves from other programs) is pretty much just messing with your hues and saturation, the levels of color in your mids, your highs, and shadows within an image.
You also have color bars inside the color wheel section; it acts similarly to color wheel primaries.
After that, you also have Primaries Log Wheels, of course. The only difference between the primary color wheels and log wheels is that they will not destroy your image, unlike if you use a film’s look.
So, all your color corrections will be done with the primaries. A few guys had to jump into the log levels at the top of that grade. They know this is precisely the work it has to do, so whatever extra level they’re at, they’re not constantly worrying about how hardcore emotionally their picture looks because they know all the groundwork there, right? And then you can let that go much farther.
Thereafter is HDR, you know if you are working with HDR content, followed by RGB Mixer next. We will skim past them; you don’t have to use them for this tutorial.
Motion Effects
Now, we move to motion effects, where noise reduction occurs: Temporal noise reduction, spatial noise reduction, and motion blur.

Curves
Going for straight lines, move over to the right. If you are used to working in other programs like the Lumetri tab of Premiere or Final Cut Pro and whatnot, Curves should be very acquainted with it. Photography, too, like in Lightroom.
To the right of the Curves graph, you change all color channels simultaneously, alternatively unchaining and denoting just one red (for example), green, blue, etc. This section also allows you to make some more micro-adjustments.
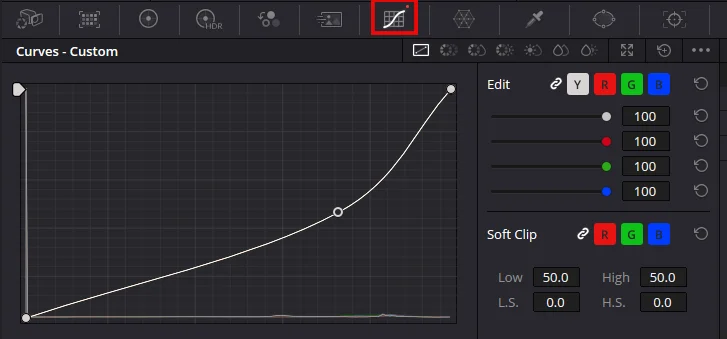
Across the top, you’ve got different versions: Hue vs Hue, Hue vs Saturation, Hue vs Luminance, Luminance vs Saturation, Saturation vs Saturation, and Saturation vs Luminance.
Color Warper
Color Warper is quite a fresh tool. You drag that around as you move your pointer around the clip (the color highlighted in the box is whatever color you were hovered over per instruction 8)
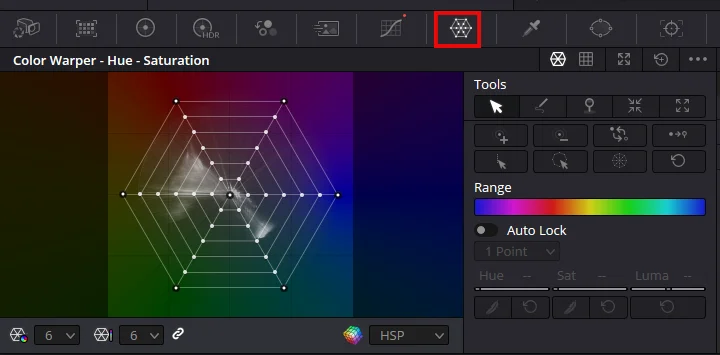
Next up is the Quantiser, which targets skin tones. Now, if you click that magic wand button at the top left — voila!— it shows what you have picked up. Since I used green in the image, it’s very useful because you could separate ONLY THAT COLOR if needed.
Above, we can see that a selection of green colors has been captured and moved to set in a purple color. That means you can get more granular with the colors, and it’s also quite tactile.
Qualifier
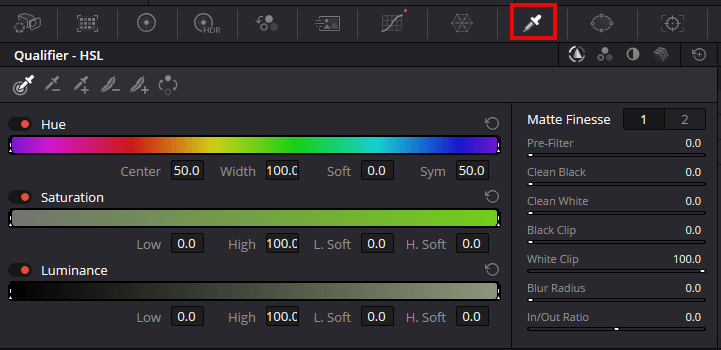
Next is the Qualifier (which you can also use to snag skin tones). You can see what you’ve grabbed here by clicking the magic wand key at the top left. You can also use it to segment and extract some parts of the image, all greens in this case.
Window
The next tool is to add a modestly powered window so that anything inside it will be manipulated. You can also invert this so that everything outside the window will be affected.
You can also use the pen tool to draw around people and objects.

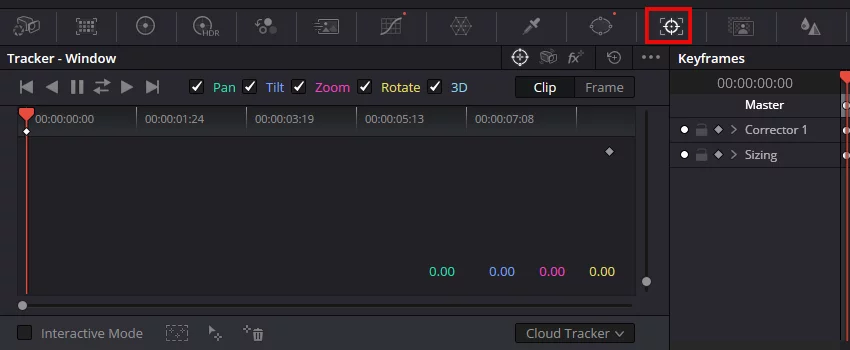
Tracker Window
You can then use this as a power window in your image and motion track all of the power windows made to that part, so if you want, for example, to track someone’s face throughout the image (for instance) and have changed their color but not having it stuck only where there were changes on set when you graded.
Magic Mask
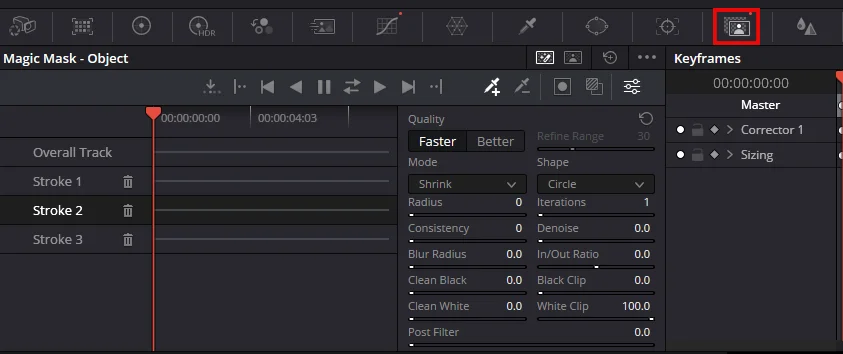
You do not need to use the Magic Mask here as it is only available on DaVinci Resolve Studio; however, if you have it, that can be useful, for example, in case you are trying to brighten a person or something like this, so when I was going through videos of cats. As long as it handles colour pretty damn well because your prob just doing a minor tweak on the skin tones inside of your final grade; nothing insane like wanting to truly separate someone from the background or replace the backplate anything astronomical)
This is useful, especially if you have a fairly busy scene with people moving around and you are tracking just one person.
Blur
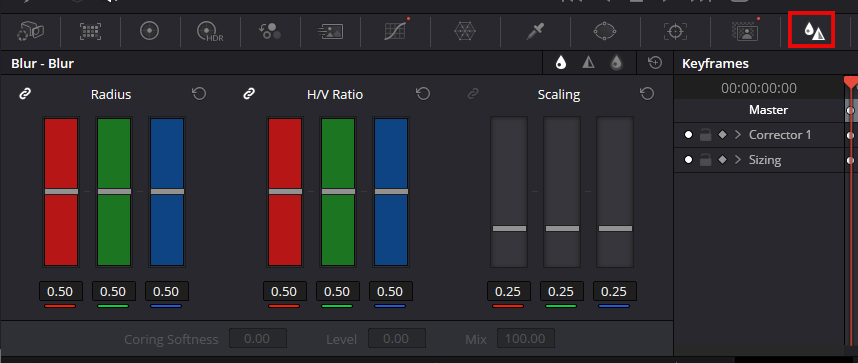
You get blur and sharpening haze here. This is the area in which you can sharpen and blur an image. Mist: It is for beauty/fashion.
Key
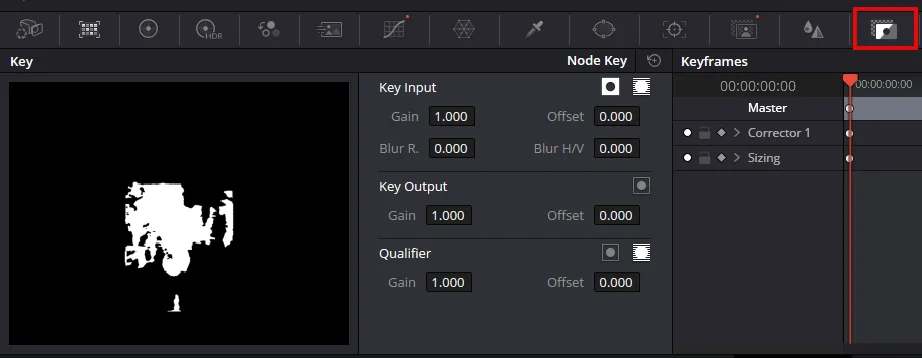
In a node-based editor, Key is the opacity you would use for, say, layer-based editing. In this case, you can change the opacities of anything you do to any of these nodes.
However, if you have a slightly too aggressive LUT on the first node and want to dial it back, this is where to do so.
Sizing
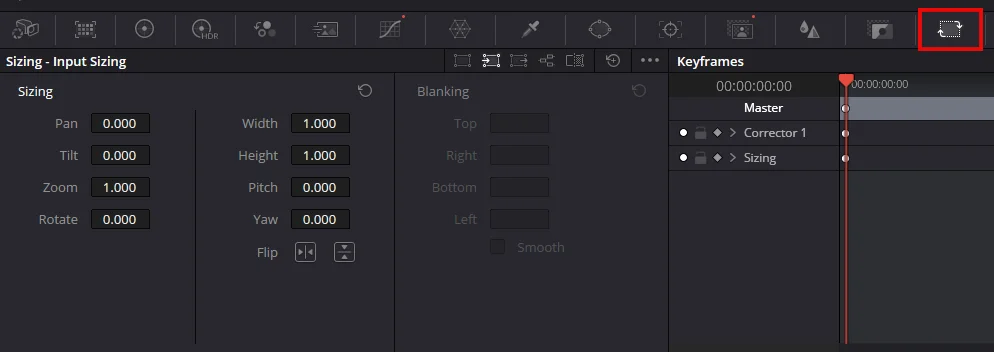
This is pretty self-explanatory; this is where you resize and whatever else needs to do with the image.
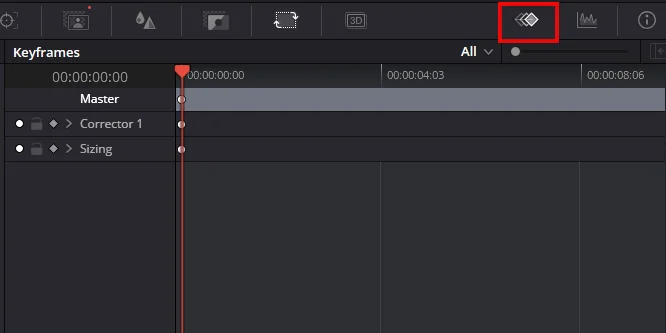
Keyframes
This is great about the tracker, but if you want to make any adjustments, you can do so here, too.
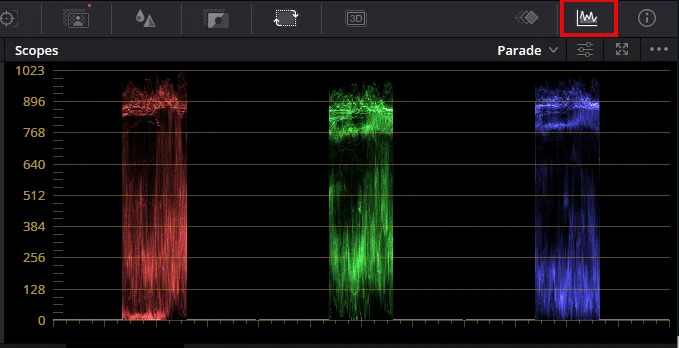
Scopes
Scopes are critical for grading because they allow you to observe your picture and monitor color adjustments objectively. No matter how you have DaVinci rigged, I recommend throwing Scopes on a second display so that they do not take up any room all the time.
If you’re on a single screen, though — as I was in the installation video below — it’ll let you pop that Scopes window out and see all your scopes at once instead of just one big chunk down at the bottom.
And there you have it. That was a pretty in-depth look at most of the tools necessary to start color grading with DaVinci Resolve. We hope that if you watch our future tutorials showing some grade work, these will jog your memory about what each tool does.
Learn everything about the Color Tab of DaVinci Resolve. DaVinci is famous for color grading, so it is important to learn more details about the color tab.
FAQs
So how do you match the color grade of one clip with another in the Color Tab?
Command+Click (Mac) or Ctrl + click each of the clips that you want to have that grade, then middle-click on a grade from another clip and carry it over. You can also use the bokeh filter by right-clicking and applying the grade. This comes in really handy when you have a lot of clips that need the same coloring adjustments made to them.
WTF Is a LUT and How Do You Use It in DaVinci Resolve?
The Clean Color Science of Look-Up Tables They are like filters but can be more specific and do not destroy pixels. LUTs can be previewed in DaVinci Resolve as hovering over and applying them is also supported. Apart from this, you can also save your favorite LUTs for later use.
What is the purpose of Nodes panel in Color Tab?
Most color grading takes place on the Nodes panel. It enables you to make systematic color corrections using a node-based workflow. On the right you’ ll find a panel that shows all of your nodes and their status, You can turn this on or off by clicking on the “Nodes” tab.
Share with us how the Lightbox help in color grading?
The Lightbox shows a macro overview of your timeline, all clips are displayed as even more miniaturized thumbnails. It lets you know how your colors are working in tandem to help create the mood and overall aesthetic of a listed video. To know it what a better sight of the thumbnail sizes can be imaged below
What is the Color Warper Tool and how does it work?
Color Warper lets you make fine-grained, targeted adjustments by manipulating individual colors in your footage. You can then drag around points in order to modify the colours, which is a much more exact process. It is especially great for refined adjustments and distinctive color grading.
Scopes: What are Scopes and why they matter in color grading?
Scopes are instruments that accurately represent the color and luma data in your shot. They allow you to make proper color corrections by showing data like waveform, vectorscope, and histogram. Using scopes is so important because it will help keep your color grade in check and consistent from scene to scene.
Uses of the Gallery in DaVinci Resolve’s Color Tab
Gallery – Save stills or screenshots of your graded footage This will enable you to grade various clips identically, or see how things change from one look to the other as time passes. To freeze a frame, right click on the clip and select Grab Still. Unlimited stills which will remain after changes are made to the footage.
