Hey, Future Video Editing Aces! This is what revolutionized video content as we know it.
This is regarding video editing on CapCut. Yeah, you heard me right. CapCut.
For anyone living under a rock, or if you haven’t heard about it yet. Kidding aside, this app is really a lifesaver. This roadmap is for you – whether you’re a complete beginner or have some experience in editing videos.
Ready? Let’s dive in!
Table of Contents
Step 1: The Grand Entrance
So, here is your first step towards mastering capcut. This – is like your first step in the world of video editing. First, we are going to learn some of the basics and let me tell you, it is quite interesting.
Are you ready? Alright, let’s begin!
1.1 CapCut Download & Install
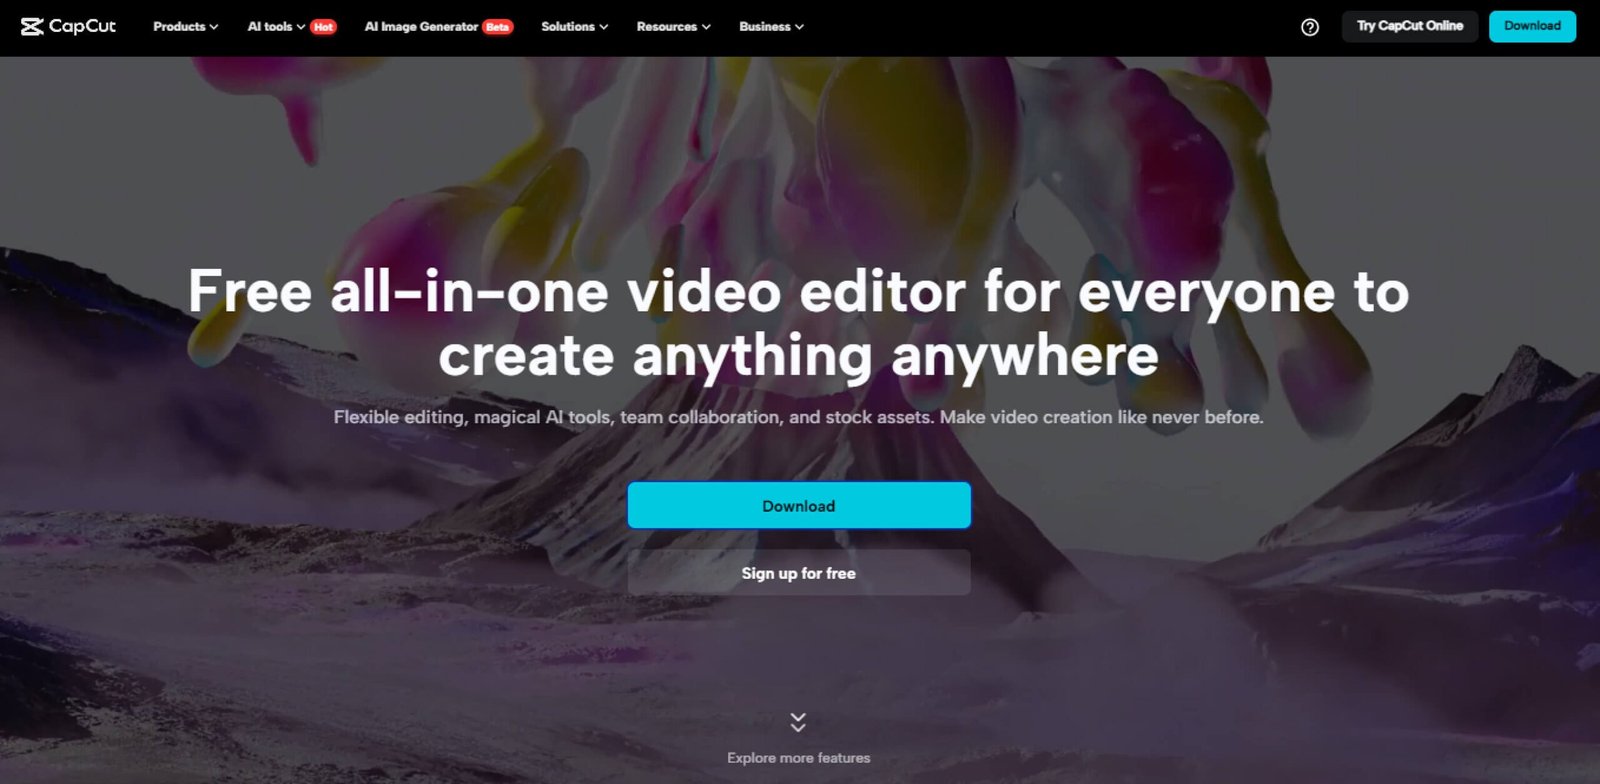
The first step is downloading CapCut on your phone, Available on iOS, Android, and PC. Visit the App Store or Google Play Store and download CapCut. Alternatively, you can search for CapCut on your browser to arrive at an official website where you may also choose to download it from there
You’re halfway there!
1.2 Explore the Interface
Now, open that bad boy up. The home screen is your new BFF. Take a look around. See the New Project button? Tap it. This is where the power starts.
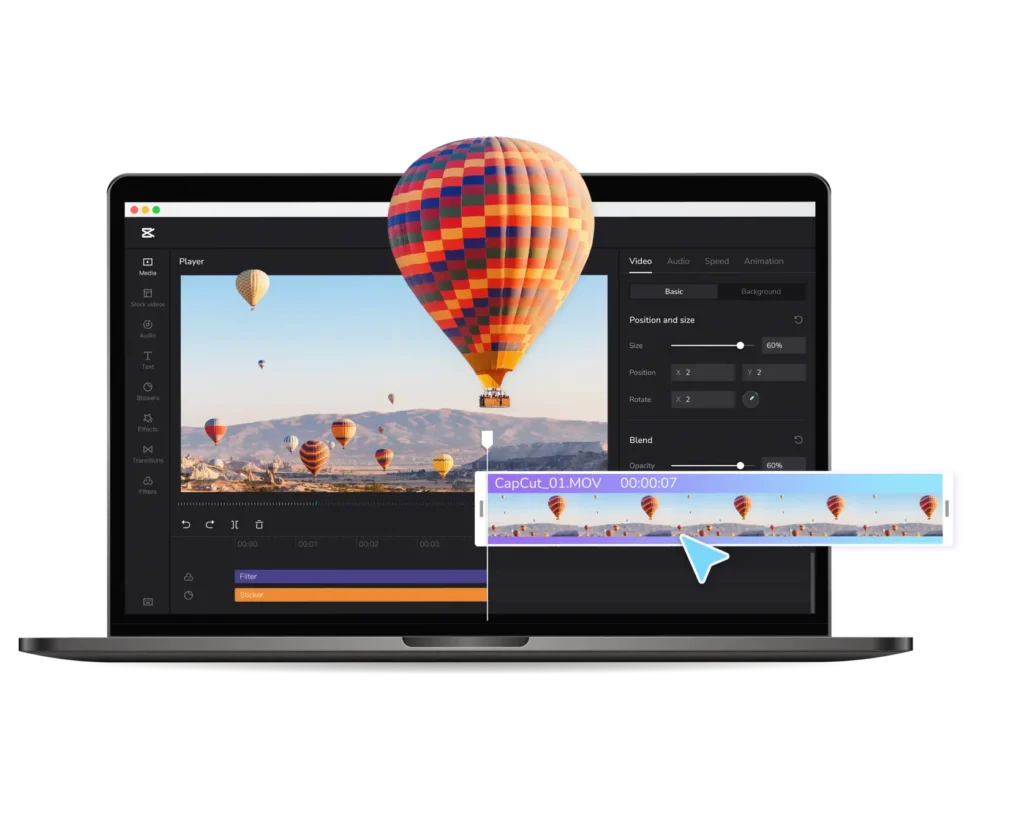
You’ve got your timeline across the bottom, and a preview window up top in this PCS with all of its tools neatly lined up. Feel that rush?
That’s creativity knocking.
Baby Steps- The Basic Editing Skills
We Must Take Baby Steps Before The Ultimate Jump. In this step, I explain three simple sections.
All right, folks, dial it back a little—get comfy. Learning to Edit a Video is like Learning How To Ride a Bike. Tricks and stunts are not where you start, true? You start with all the fundamentals, you get used to your pedals and handle bars. The same goes for CapCut. To start, a well-built foundation
(Lean on these basics, trust me!) Ready? Why not take off those training wheels?
Step 2: Baby Steps – Basic Editing Skills
Before the big move, you need to start with baby steps. I cover 3 basic sections in this step.
Alright, everyone, let’s slow down a bit and get comfortable. Learning video editing is like learning to ride a bike. You don’t start with tricks and stunts, right?
You begin with the basics, getting comfortable with the pedals and handlebars. The same goes for CapCut. Let’s build a solid foundation first.
Trust me, these basics are crucial. Ready? Let’s get those training wheels off!
2.1 Importing Media
Let’s add your media. Tap “Add” and then tap on your gallery’s videos, photos, or music.
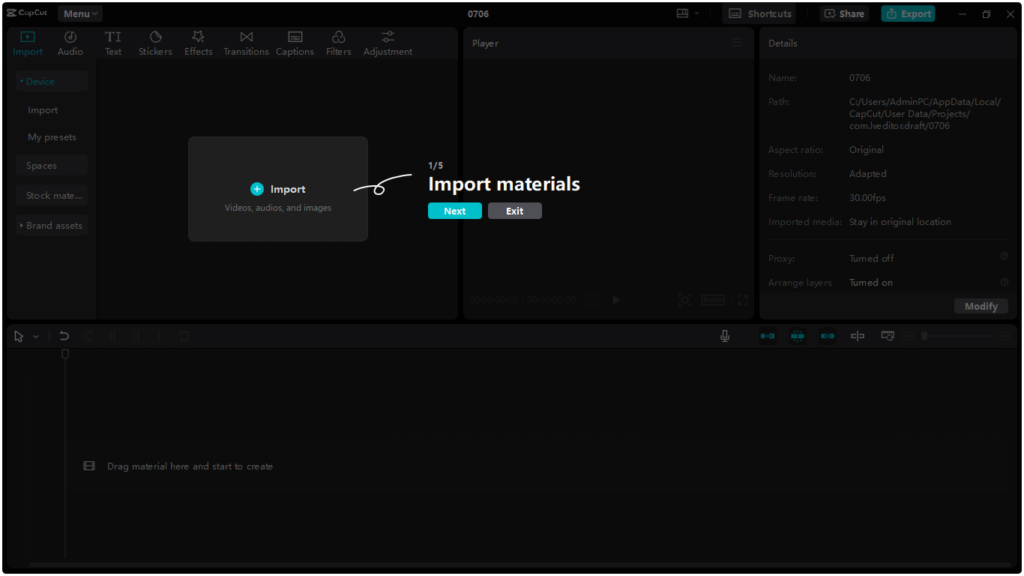
Click and drag them to their place on the timeline. Simple, right?
2.2 Trimming and Splitting
Here comes the fun part. You’ve got a long video? No worries. Drag the edges of the clip in order to trim it down. Specific Part You Want To Remove? Split that clip!
Select the timeline from where you need to cut and press the split. Slicing bread but better.
2.3 Adding Text and Titles
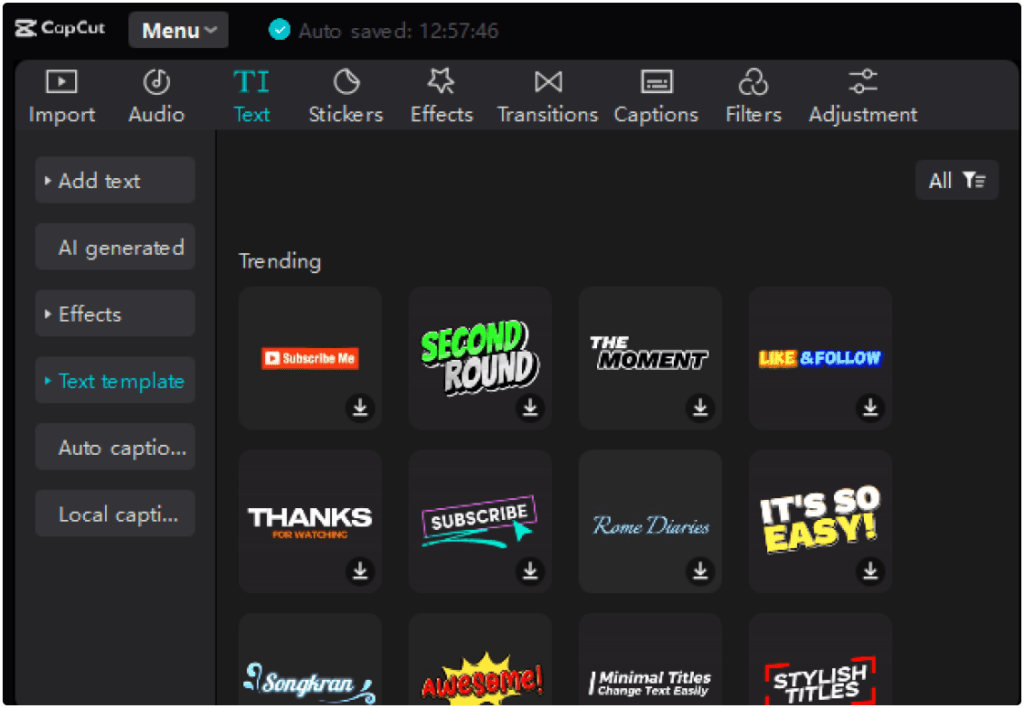
Text is your secret weapon. Tap the text tool then just type away! Do you want to let your cat appear in the video? Add a title. Feeling fancy?
Change fonts, colors, and jump words. Make it pop!
Next: Adding Some Flavor – Advanced Features
This is where it gets interesting. This is maybe one of the most fun sections for videos you’ll read, so get ready to elevate your video game.
So it’s time to Strap in and get ready for Sound effects, filters & transitions out of the ass. In other words, these are the gear that can turn your video from just good to great in a jiffy.
Common Filters and Effects 3.1_FILTERS AND EFFECT_HOVER on THE SAME TAB
Imagine an Instagram on steroids, and that is what filters do. Scroll through and watch your video change with each swipe. Effects? Effects – Fucking hell, this is where you can go bananas.
Glitch, blur, you name it. Experiment and let rip ho what suits you
Step 3: Spicing Things Up – Enhancing Your Videos
Alright, this is where things get exciting. We’re about to add some serious flair to your videos, and I guarantee you’ll love this section.
Buckle up because we’re diving into the world of filters, transitions, and sound effects. These are the tools that can take your video from “meh” to “wow” in no time.
3.1 Applying Filters and Effects
Filters are like Instagram but on steroids. Swipe through them and watch your video transform. Effects? Oh man, the effects are where you can get wild.
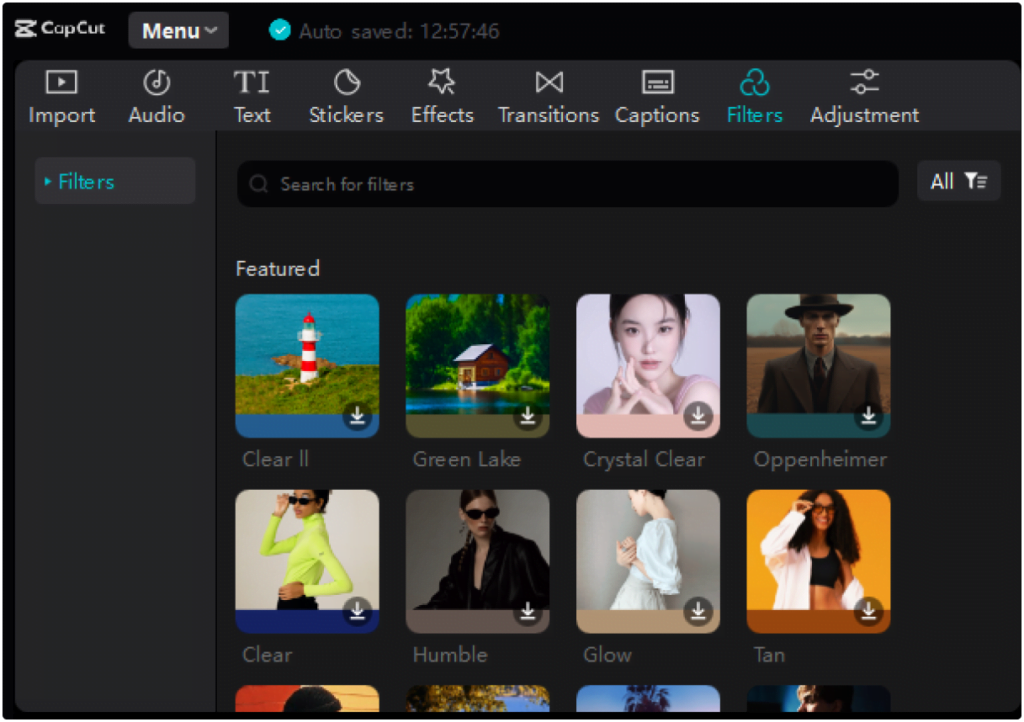
Glitch, blur, you name it. Experiment and see what fits your vibe.
3.2 Transitions
Transitions are tasks of glue transitioning from one clip to the other. You have choices, from low-key fades to high-intensity swipes (more on those in a moment).
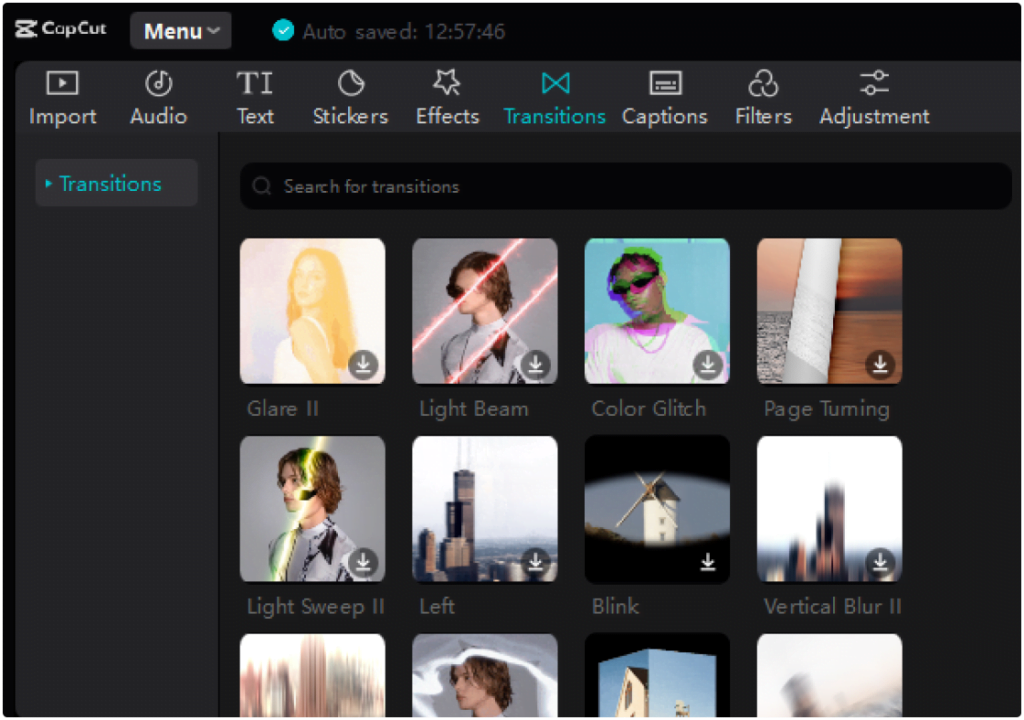
Tap the transition icon between two clips; select your favorite one. It’s that easy.
3.3 Upload Music and Sound Effects
Warwick: A video is not a video without music. Mix in your background music and adjust the volume level to ensure it does not drown out your narration. And sound effects?
Other than that, sprinkle it in just for some extra pizzazz. Clap, clap, whoosh — and the world is your oyster!
Step 4: Jedi Master – Advanced Editing Tricks
So, Young Padawan Warriors – Welcome to the Showgrounds.
This is the advanced method to take your game up a notch. This is where men are separated from mere boys in video editing. Unlock Your Jedi Powers. Let’s dive in.
4.1 Keyframe Animation
The word keyframe may sound intimidating, but keyframes are your gateway to a buttery animation. Choose different spots on your timeline, add keyframes, and animate text, images, or even whole clips.
Creating a sort of mini-movie within your video.
4.2 Chroma Key (Green Screen)
Have You Ever Dreamed of Being in Paris inside your own Home? A green screen is your answer. Bring in a green screen for a BG now, and then press chroma essential—boom, you are anywhere!
4.3 Speed and Reverse
It can also be used as a dramatic or amusing tool when playing with speed. The camera can shoot slow or fast motion for those awesome moments in time-lapse. And in reverse?
That’s just plain fun. Ever seen a balloon un-pop? Now you can.
Step 5: Share It – Export & Delivery
There you go, creators—the hardest part is done! You are finished; now is the time to share your work with everyone.
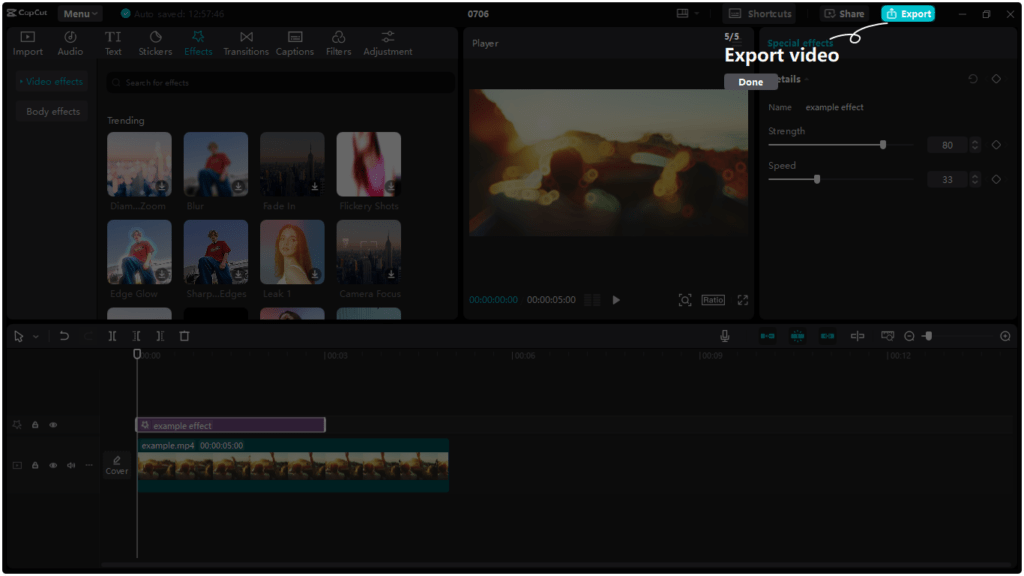
You have put in the hours and perfected every single thing, and now it is all left to that share button.
5.1 Export Settings
You’re almost there. Once you are satisfied with your masterpiece, it is time to export. Select your resolution and quality settings. Want it HD? You got it. Ready to share?
Export and let CapCut work its magic.
5.2 Sharing on Social Media
Instantly Save and Share Videos to TikTok, Instagram & YouTube! Since each platform has its own peculiarities, optimize accordingly.
For TikTok, How can we reduce that length for users and YouTube for my YouTubers Refugees? That Like, Share, and Subscribe!
Step 6: Never Stop Learning
So there you have it, and for all my future video editing superstars out there, engrave this motto into your soul… NEVER. LEFT.ALONE
Seriously, don’t. The video editing world keeps growing every day as it expands its boundaries. Work hard every day, and you will progress over time.
But it does not end here; your journey is still long. It’s just beginning.
6.1 Follow Tutorials
Tutorials are all over the Internet. Your new school is YouTube. Look up some CapCut tutorials and just click along. The more you watch, the more tips you will pick up. Check out our tutorials on CapCut
Free resources I included You can check them out. These are really natural helpers along your way.
6.2 Practice Makes Perfect
Make new projects. Keep experimenting with different styles. Mess up and learn from it. It will get better with practice.
Believe me, every professional editor started there once. Me too.
Sure thing! FAQs in a more casual/friendly mode
FAQs
what is CapCut, and why should I start using it??
Hey! CapCut is a dope, user-friendly video editing app fully loaded with features. It’s absolutely free, so there’s no money to be dropped before diving into the world of editing. If you want to create amazing videos without the headache, try CapCut!
This is the first video I have ever edited. Will I be completely lost?
Not at all! Therefore, we will start with the essentials and work our way up. Applications, like riding a bike at first. — Light-Work Follow my lead, and you will be editing with the best of them before long!
How can I get started with CapCut?
It’s so easy! Head over to the App Store or Google Play and grab it. When you’re done, open the app and tap New Project. Then, you are ready to Create. It’s a piece of cake!
What beginner stuff should I learn?
Import media, trim clips, and add text. This is similar to prepping your work space before tackling a huge project. Once you’re comfortable with the basics, you can start to use all of those fun features, like filters and music!
What should I do to make my videos look more professional?
Great question! Add filters, transitions, and sound effects to make your video stand out even more! It is like adding a little something to spice up your favorite meal — beefs everything else experience better!
What about things like a green screen?
The green screen is fun! You can also swap out those greenscreen clips using the chroma key tool. Basically, it is as if you entered the big machine from The Fly on one end and came out in a totally different world on the other side.
Do you have any advice about placing my videos into an audience that will see and follow them?
Absolutely! Optimize your video for every platform before you are ready to share it. Oh, you know… like the short and snappy kind perfect for TikTok or long-form content better suited to YouTube. Also, optimize for hashtags and titles to be more likely seen by people as they scroll through their social feeds!
And there you have it, folks!
I wanted to cover all the things of video editing on capcut. Remember,
So, the bubbles, get your creative juices fluffing. Download CapCut and make those dopest videos now.
Who knows? You might become the next viral star. Keep editing, and let those cuts be crisp. I hope you find your transitions seamless!

